how to draw 3d robot
Easy Robot Drawing Using Shapes and Forms
Information technology'southward really piece of cake to acquire how to draw robots, especially if you're using shapes and forms every bit your guidelines. In that location are so many dissimilar ways to draw robots. Use robot reference photos for ideas. And so change the way you depict them to make them your own.
The more you draw something the amend yous will get at it, and the more creative your ideas will be. And then it's a good idea to do several drawings and make some changes with each cartoon. And when drawing robots, there's no shortage of changes y'all tin make.
From the head, the body, the artillery, the legs, and whatever else y'all tin think of. Today we're going to wait at some dissimilar ways to draw robots. Both with shapes and forms, and so we tin can draw 2nd and 3D robots.
Let'due south assemble up some supplies and get started with some robot drawings.
* Some of the links in this post may exist affiliate links. This ways I receive minor commissions for purchases made through these links at no extra cost to yous.
Fine art Supplies
- Thin blackness marker
- Newspaper or cardstock
- Markers
- Pencil
- Click Eraser, Pink Pearl Eraser
- White Gelly Roll pen
- Black and white colored pencils
- Gray toned paper
- Electric pencil sharpener
FREE Guide to Ameliorate Art in vii Days
Shape vs Grade
What is the difference between shape and class? The only deviation betwixt shape and form is that a shape is two dimensional, and a form is three dimensional.
This is accomplished by adding the third element, depth, to the two dimensional shapes. Shape and grade are both elements of art, and therefore are something you should know and understanding if you're interested in creating art.
How to Draw Robots Using Shapes
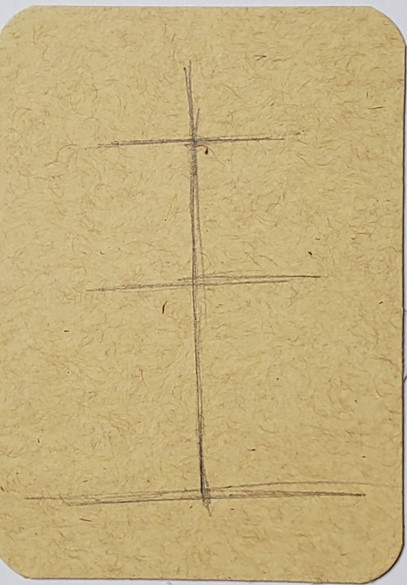
The start thing to practice when using shapes to draw a robot is to lay out some crude guidelines. Describe a vertical line going downwardly the center of where your robot will be. Then put in some horizontal lines for the placement of the head, body, and feet. This is to give you a crude idea of the placement of your robot.
Next, utilise shapes to draw each part of your robot. You're not express to using squares for the head and torso. Draw your robot using whatsoever shapes you think will look good.
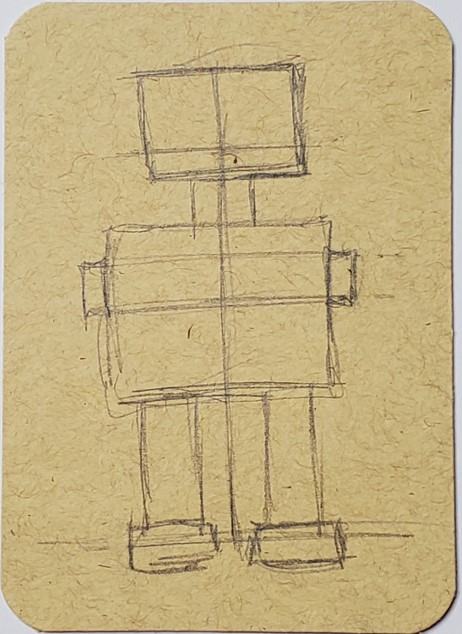
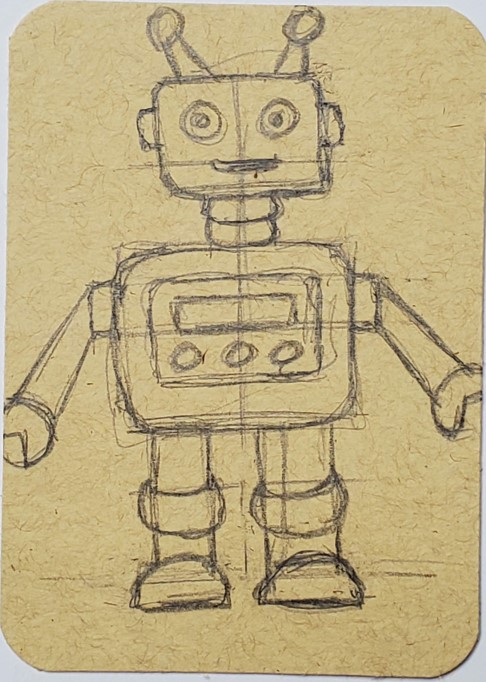
Continue working on cartoon out your rough sketch. Add in any details you want to include on your robot.
After your rough sketch is finished, get over your outline with a sparse black marking. Yous can add in some shading with the blackness if you retrieve that would look good. And then employ an eraser to remove your pencil lines.
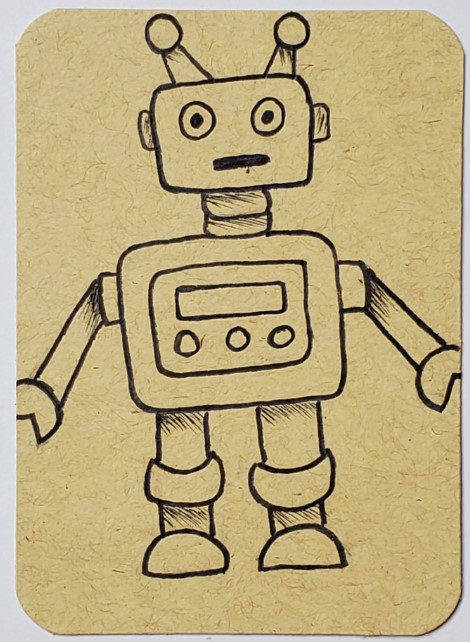
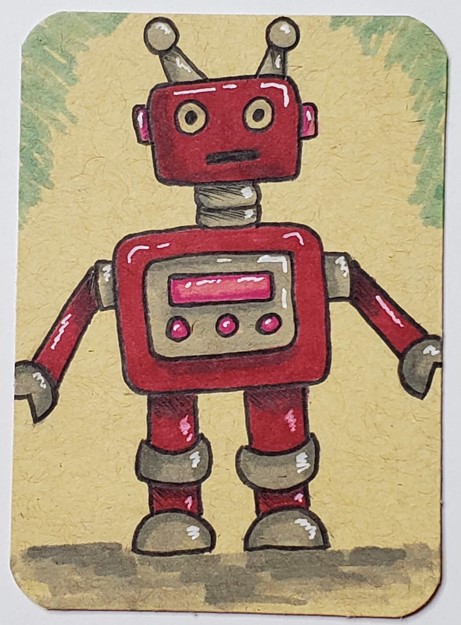
Complete your robot cartoon past calculation in some colour. I'g using markers for this case, but you tin utilise whatever medium you prefer. When adding color effort to use more than one colour for each department of your cartoon. You lot tin can use a light and nighttime value of a color, similar the pinks in his lights.
Or, you tin add in some gray over a colour to show some darker areas. White can be used to add in some highlights.
How to Depict Robots Using Forms
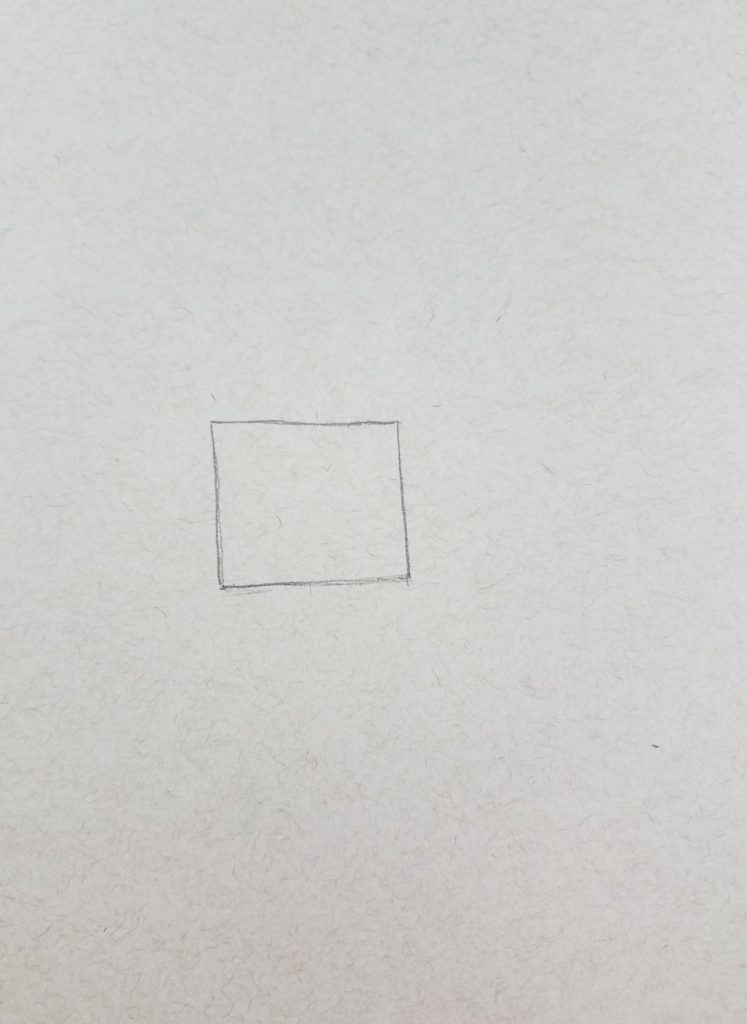
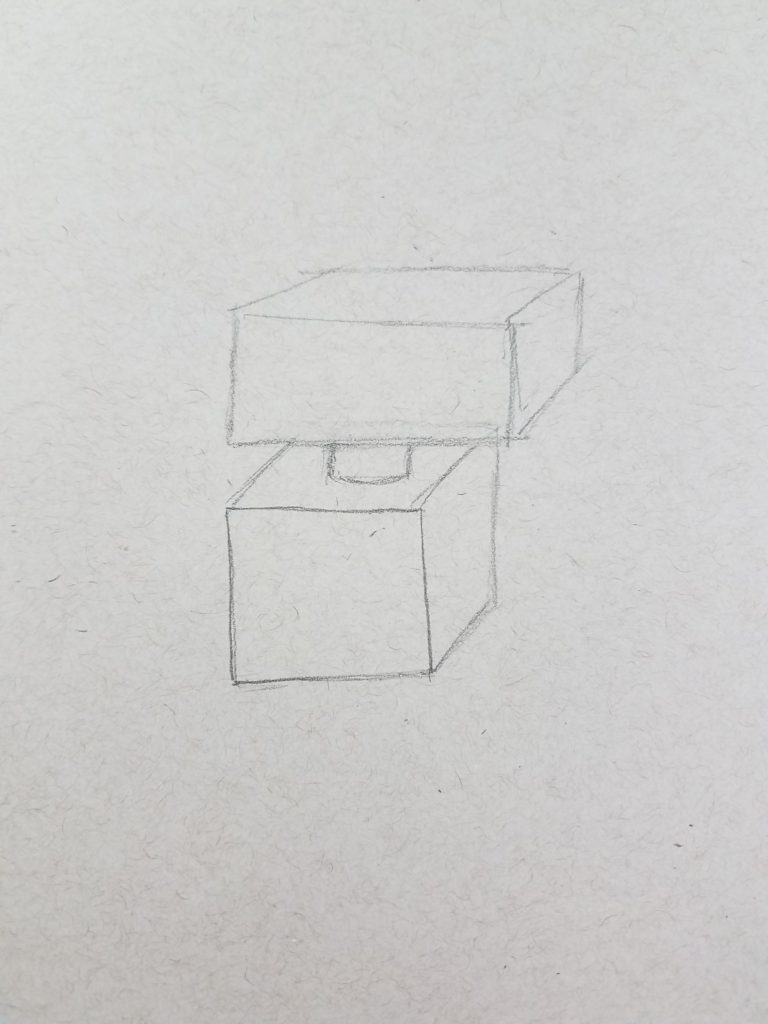
To depict a 3D robot, begin past making a square somewhere almost the centre of the paper. In the next footstep, nosotros'll exist turning it into a cube to correspond the robot'southward body.
Be sure to draw big enough to fill up the newspaper when your robot drawing is finished. We don't want tiny piddling robots on our paper when the drawings are done.
Drawing Cubes
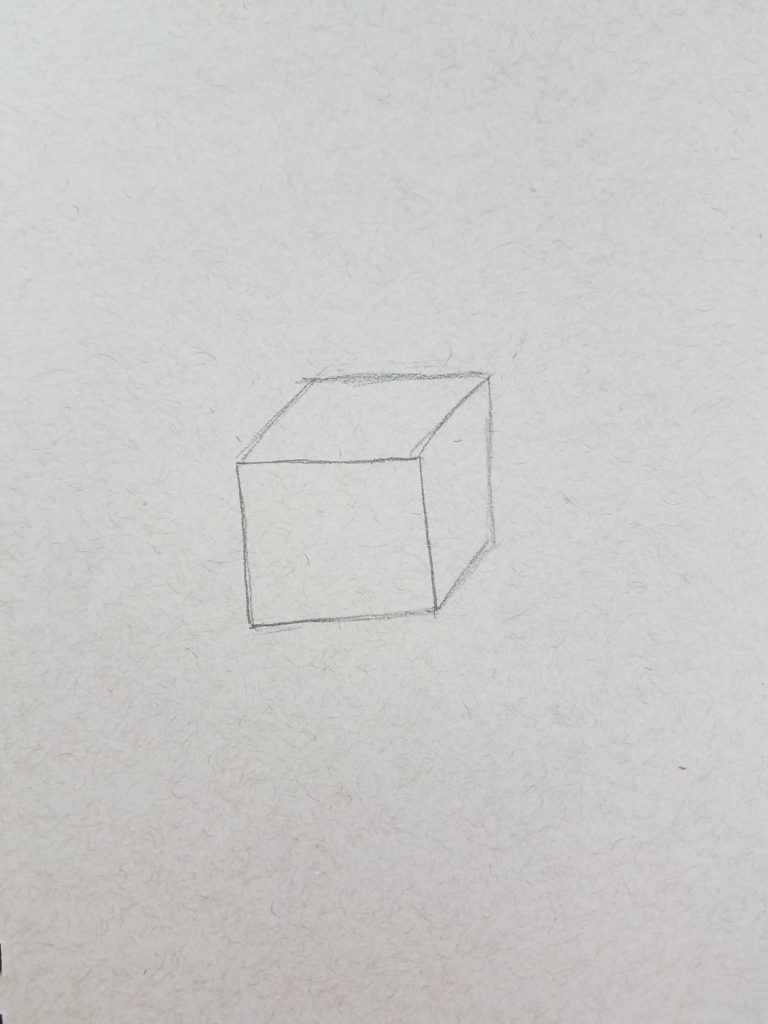
The side by side pace is to turn the foursquare into a cube.
Remember that when drawing a cube, y'all can run into either the peak or the lesser, but never both. And you can see the left or the right, but not both.
We have an entire lesson on How to Describe a Cube, which also includes a complimentary handout that might be useful to use as a reference or cheat sheet.
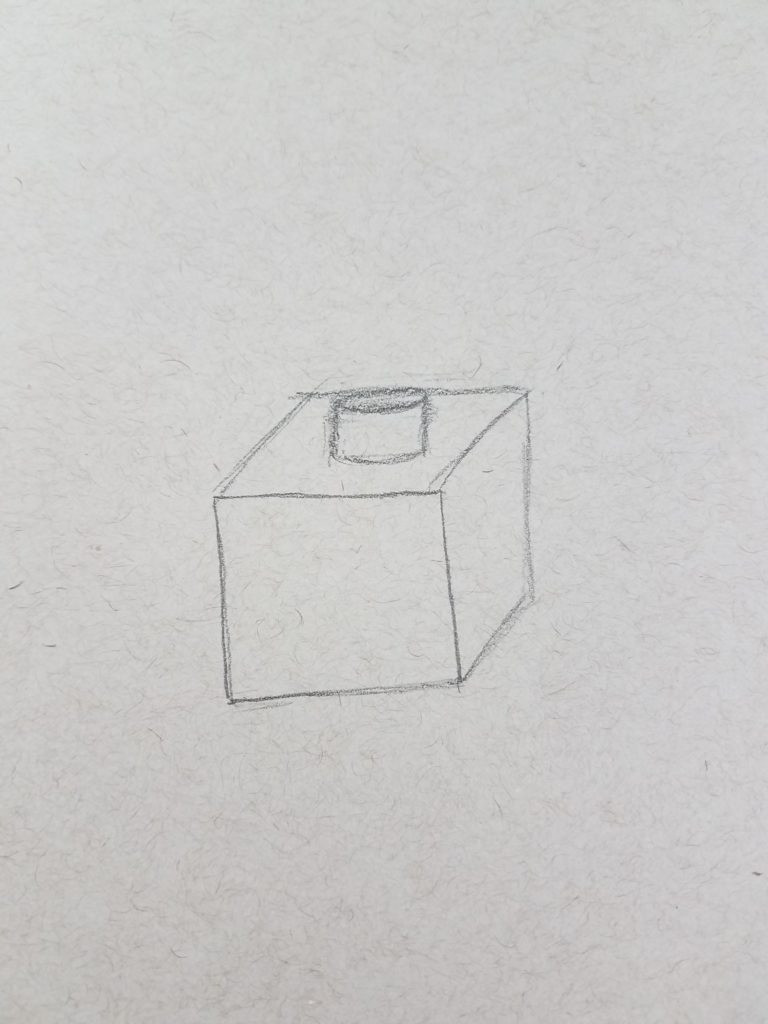
The next step is to add a short cylinder to the height of the cube for the neck. Be sure to place the neck in the heart of the cube. If the cylinder is drawn taller, the caput will sit up higher from the body.
How alpine the cylinder should be drawn is a decision you will need to brand, and will slightly change the expect of your robots.
In the side by side pace, the tiptop of the cylinder will get covered up. However, the purpose of this lesson is to reinforce the concept of using form in art. And to practice drawing those forms.
Therefore, information technology's best to build your robot drawings using the entire class.
For the head, draw some other cube. The shape of this cube, or any of the parts for that matter, volition help make up one's mind the overall expect and personality of your robot.
Don't be agape to add together own personal touch to your form robot. They don't demand to depict a perfectly foursquare cube. You tin describe them longer or taller, just brand sure your lines are angled correctly.
Drawing Spheres
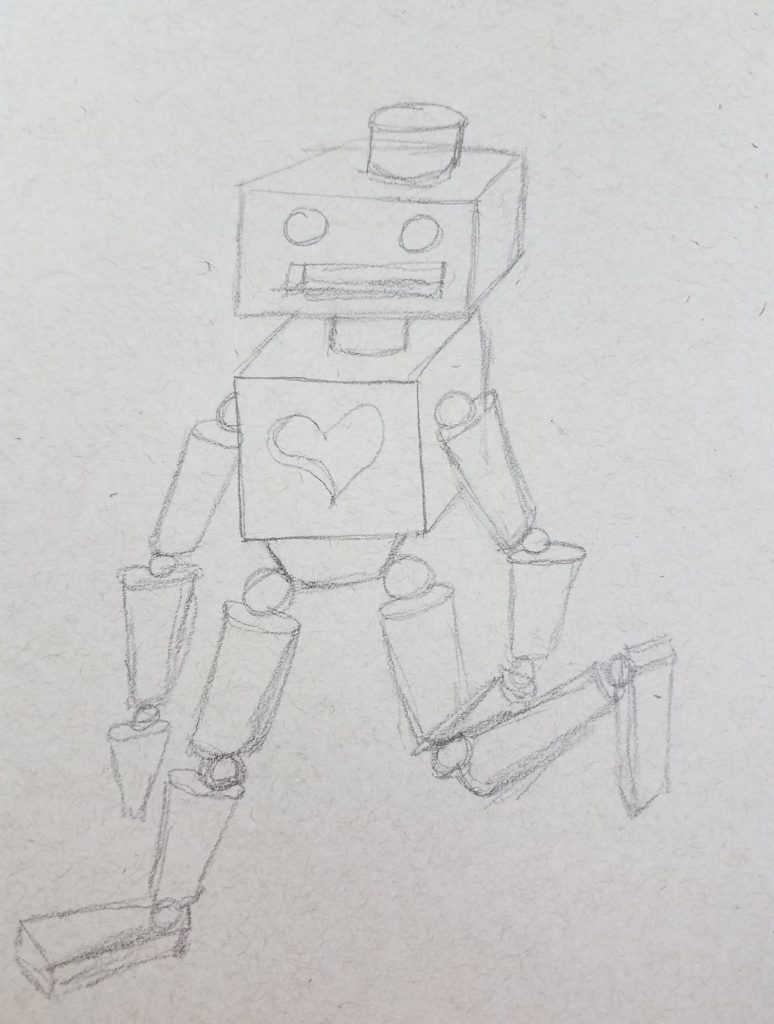
The next step is to add in the joints so the arms and legs tin be drawn in. Spheres are used for the joints, to allow the artillery and legs to have movement.
An actress piece volition need to exist drawn beneath the trunk to requite you a place to connect the legs. This can be drawn nonetheless you choose, every bit long every bit information technology'southward drawn three dimensional if the shape allows for it.
Afterwards all, we are drawing robots using forms and demand to use them as often as possible.
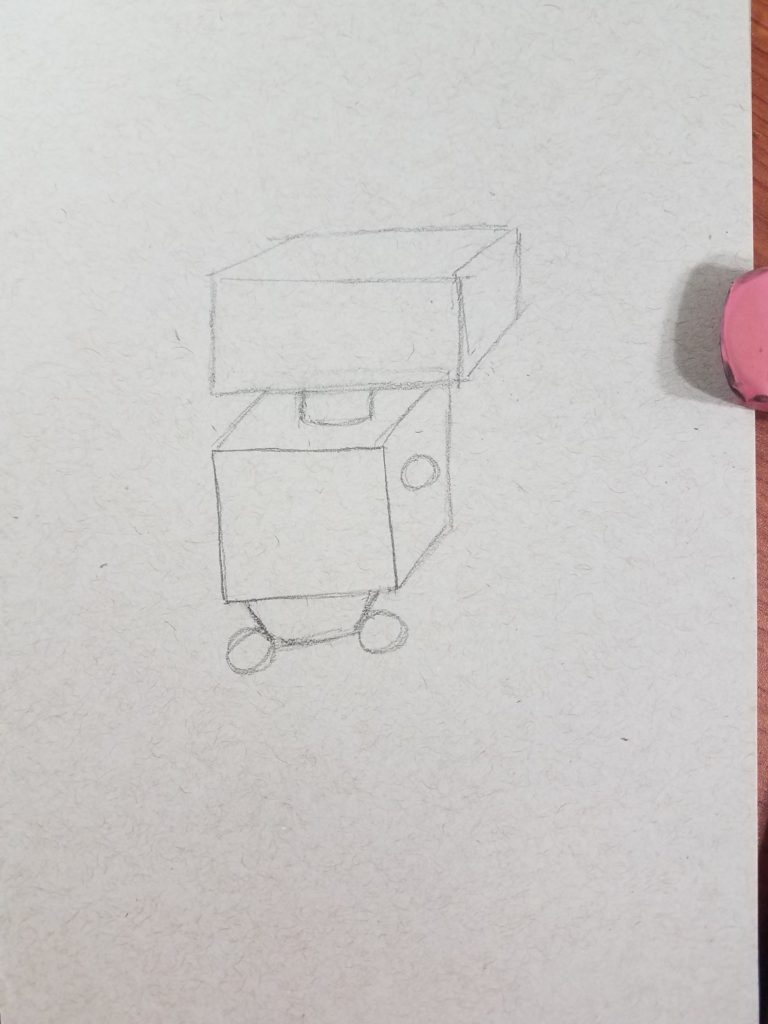
Robot Legs Using Cylinders
Next, utilise cylinders to draw the robot's legs. The placement of the legs and arms will decide the pose the robots will have. Y'all should take this into consideration when drawing your robot.
Whenever possible try to apply a reference for poses. Having a visual will oft spark some new ideas or requite you some courage to be more creative.
We have an unabridged lesson on cartoon cylinders, yous can read more well-nigh information technology at, How to Draw a Cylinder.
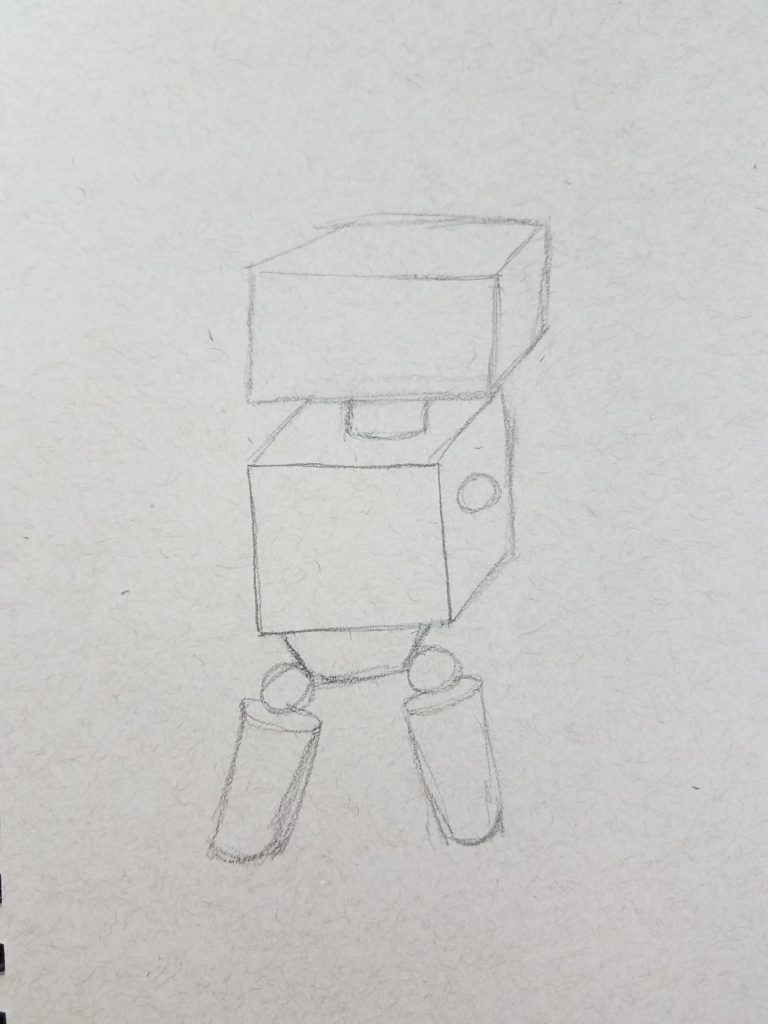
Cylinders are also used to depict the robot'southward artillery. Again, different poses can be used to add a trivial graphic symbol to the robot drawings.
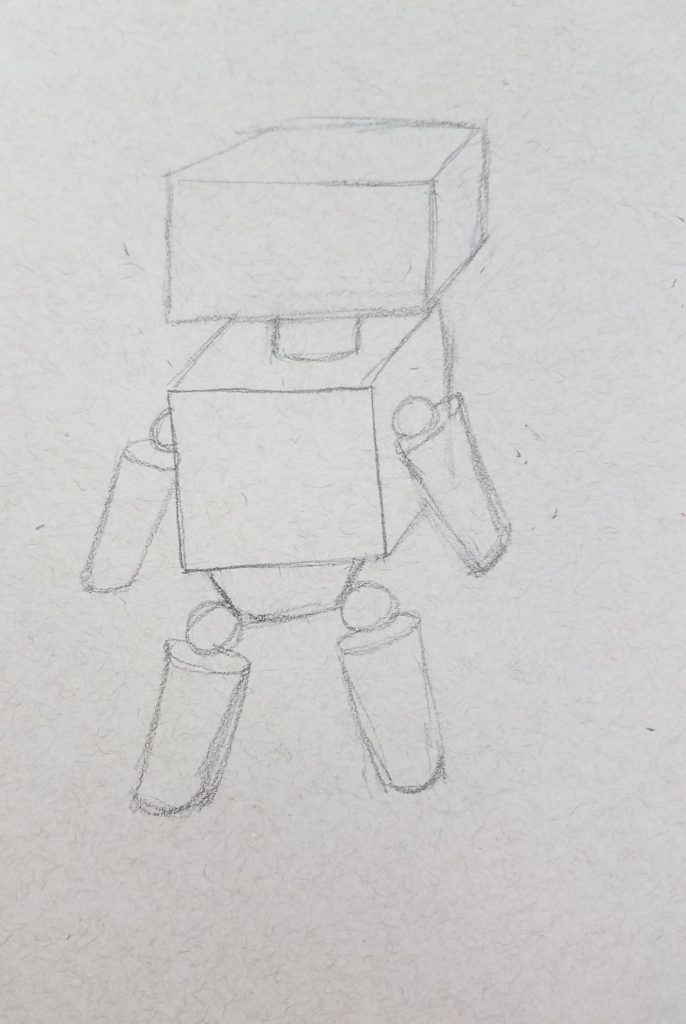
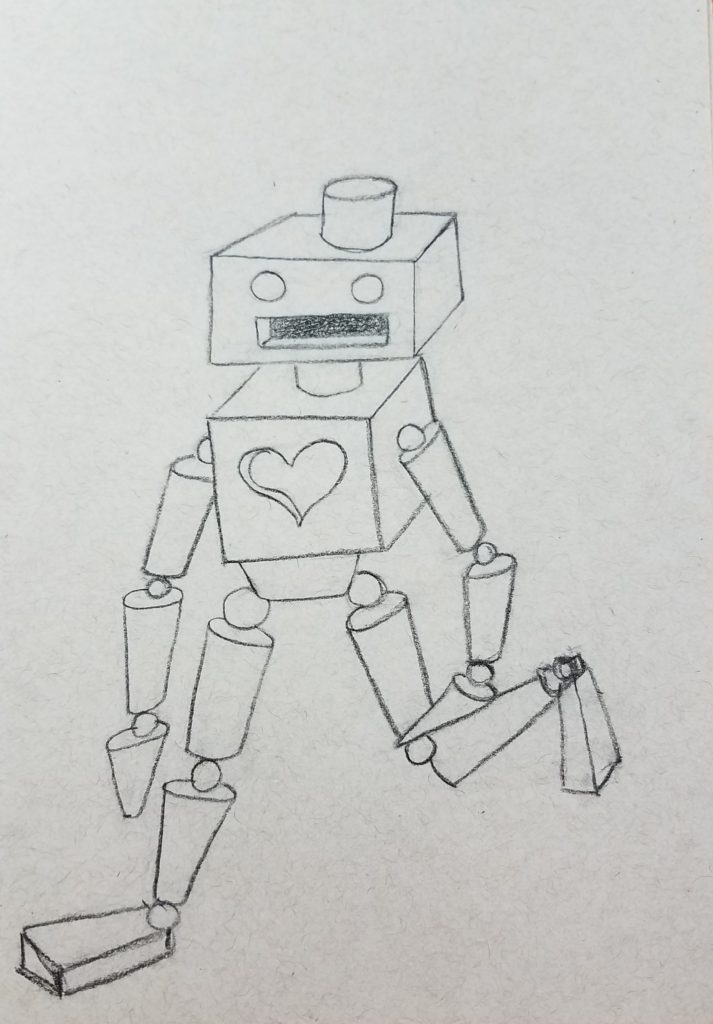
Form Robot Extra Details
Finish drawing your robot using unlike forms where needed. Cones tin can exist drawn for the hands, or another shape could be used as well.
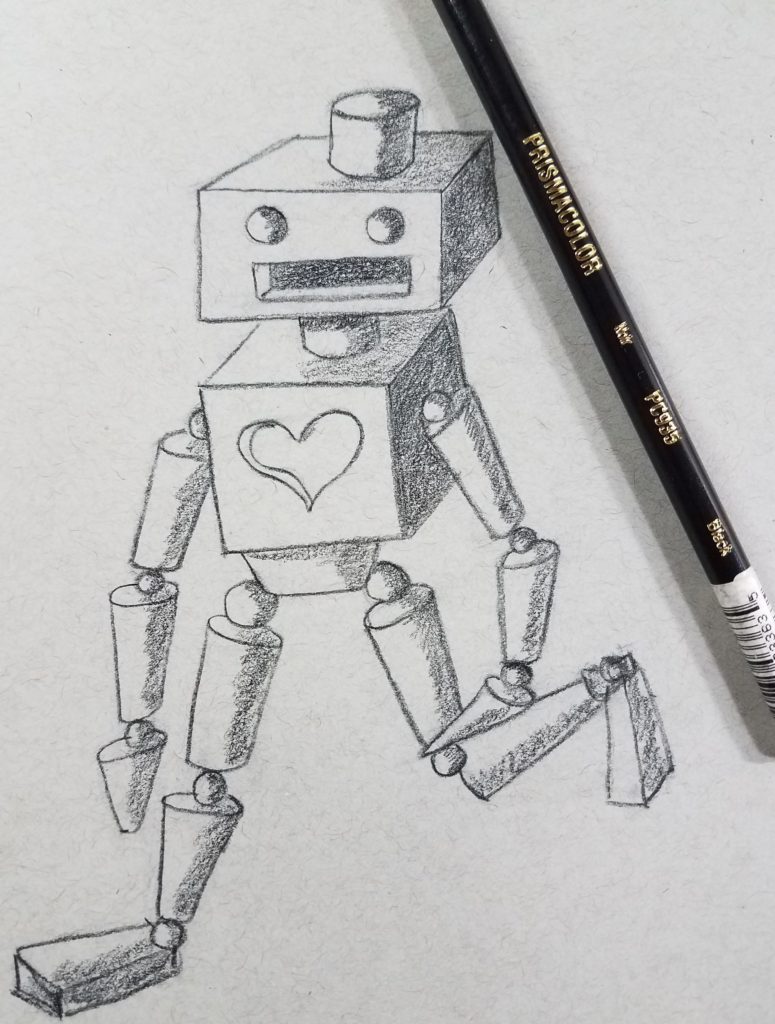
To consummate your drawing, add a confront and whatever extra details. A heart was added to this robot drawing, and a cylinder on top of the head for a light.
For more avant-garde students, you can challenge them to add together some cut-out areas to theirs as well.
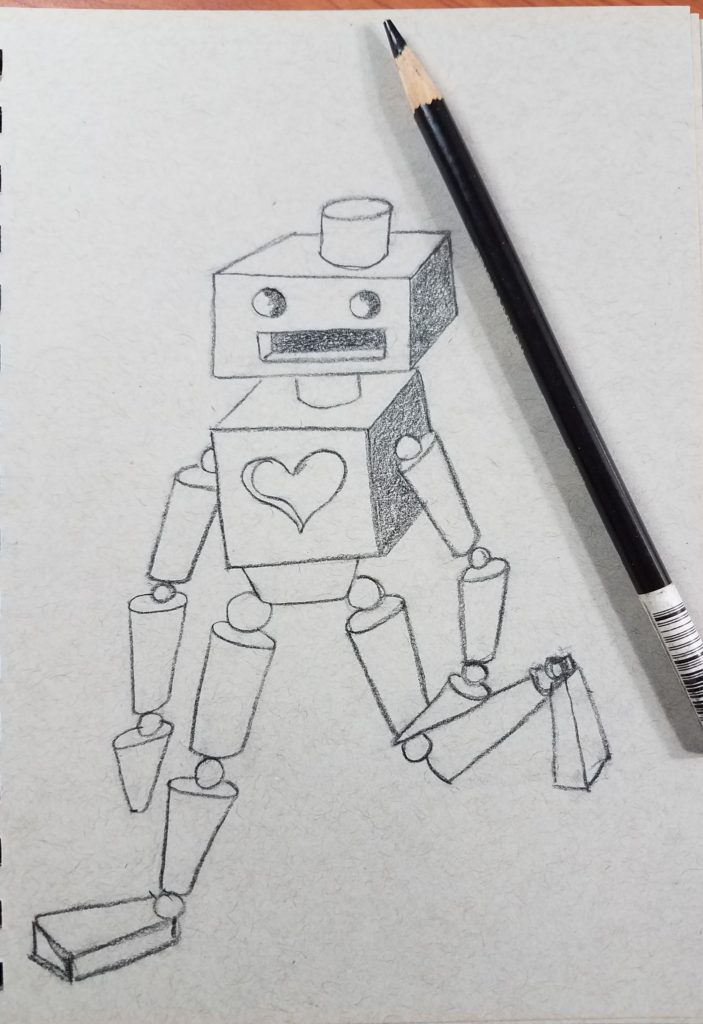
Shading Forms
Earlier adding some shading to the form robots, trace over the pencil lines using a black colored pencil.
When shading your robot, start with the easy areas offset. Y'all tin can add a light source to use as a reference for the shadows by drawing a sun in the direction y'all want your light to be coming from. The inside of the oral cavity and the sides of the cubes were shaded first, since those areas are the most obvious.
Next, I moved on to shading all of the spheres. And so shading everything in groups by the type of form that it was. This helps go along things consistent with the shading and not getting mixed up along the way.
Information technology is important to go along your colored pencils sharp. The best way to practise this is past using an electric pencil sharpener. They seem to keep the pencils much sharper, without breaking them as easily. I ever buy the ones that accept the automated end function.
Go on working your way through your robot by shading all the cylinders next.
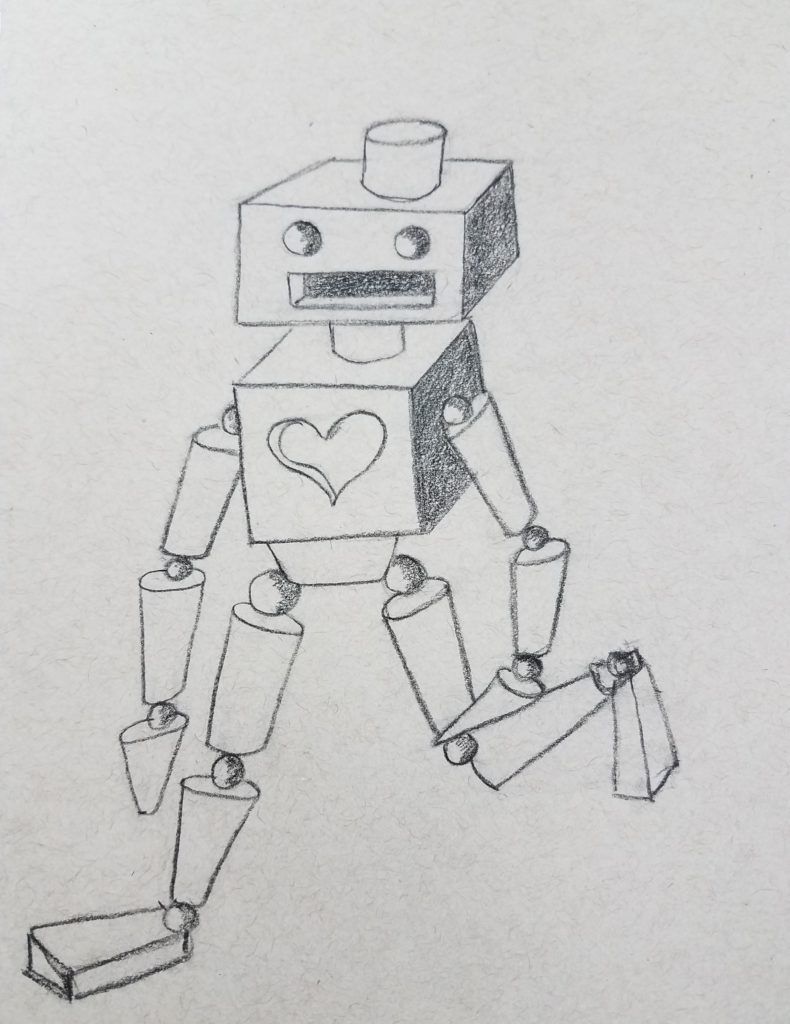
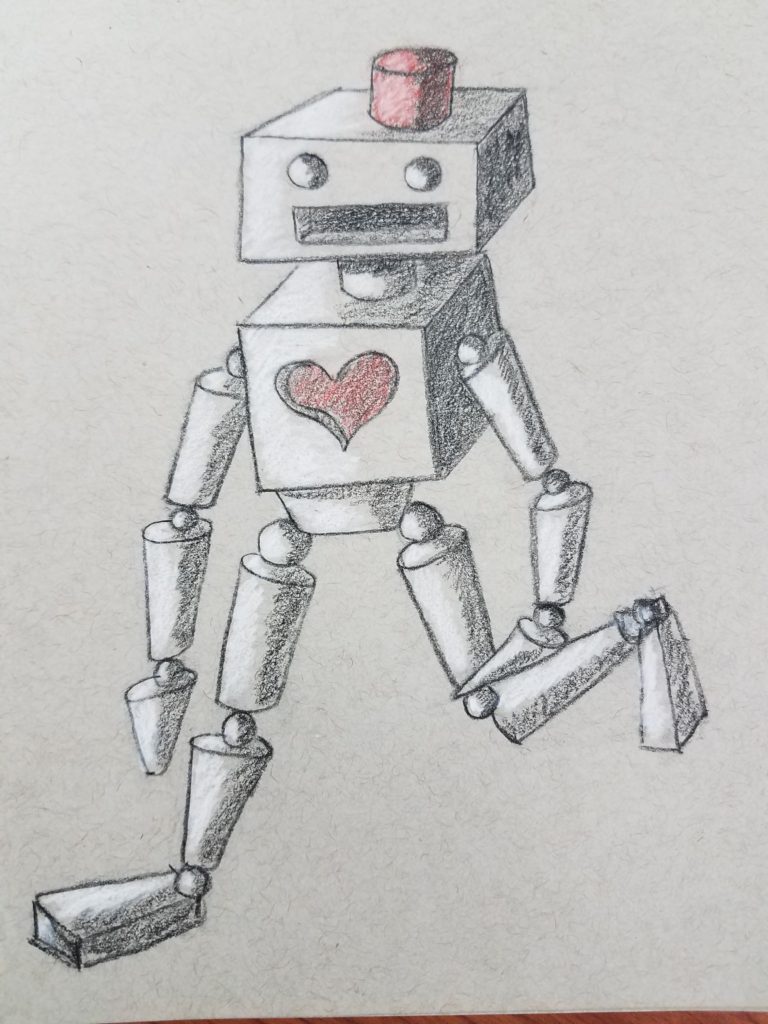
Adding Highlights
The terminal stride in drawing your robot is to add in the highlights using white. In my opinion, this is the best part of the drawing. I dear how the white brings it all together on the gray toned paper.
Y'all don't have to get likewise technical with your shading and highlighting. The goal is to become a expert range of value and tones using merely the black and white with the gray paper.
How to Draw Robots Using Shapes and Forms
Learning to draw is a skill that is adult over fourth dimension with consistent exercise. It's a skill that anyone can learn. When learning how to draw robots, or anything else, information technology's important to be relaxed and have fun. You should savor your artistic time and not feel stressed about how your artwork is going to turn out.
The more than you do the better your skills will get and the more than creative you'll get. Try to focus on the procedure and not the outcome. Fell pride in everything you lot make. Try doing a robot drawing challenge and run across how many cool robots yous can come up with.
Catch your FREE Guide to Meliorate Art in 7 Days
Addition Posts for Drawing Robots with Forms
- Cube Drawing
- How to Describe a Cylinder
- Elements of Art
- Artist Trading Cards Guide
- Using Shapes to Draw

Roshanda is an art education blogger who is on a mission to passenger vehicle and encourage as many aspiring artists as possible through the use of her weblog. Learn more near her on the Nearly Me folio and connect with her on Facebook, Twitter, and Instagram.
Source: https://artbyro.com/how-to-draw-robots/
Post a Comment for "how to draw 3d robot"